
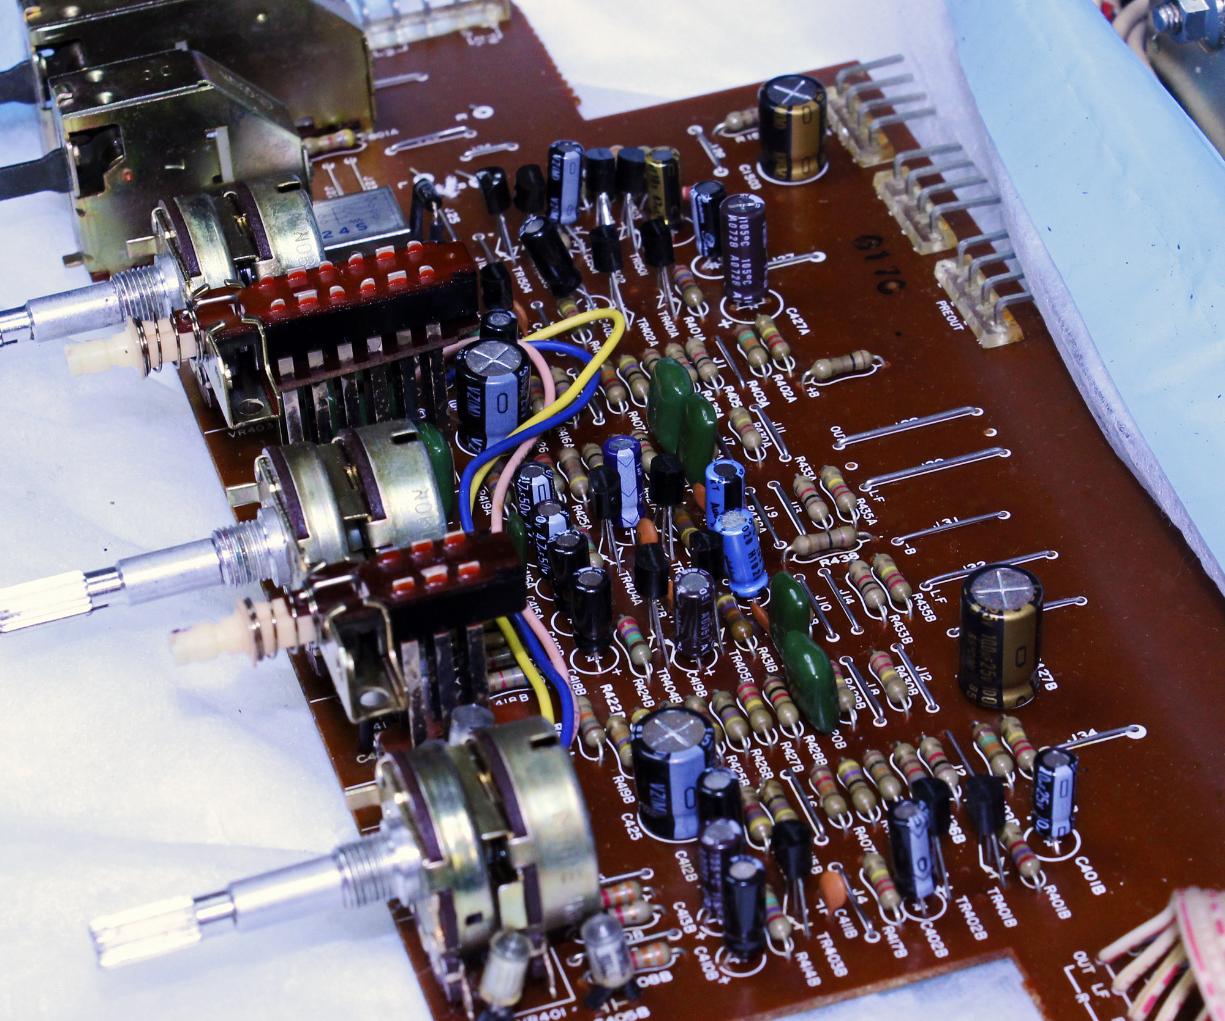
This is actually the first repair steps. The face is removed and placed in warm soapy water for the night. The front-end PCBs are pulled out for access, and all the
switches are serviced. A complete set of audio cap are installed, as well as a brand-new power switch. The headphone jacks, PCBs, and frame are cleaned, top
and bottom. Note how spotless the bottom of the chassis is. Once the dust is cleaned form the top, it's just as shiny!!!
The face had two issues that needed to be resolved. First, the glass was foggy. I buffed it out with a fine plastic polish and it cleared right up. The other item that
needed addressed was the chipped plating on the bezel. This was resolved with a little sanding to smooth the facing edge, and the application of foil tape. It is
designed specifically for the arts and carts market for metalizing surfaces such as this. The glue on the back dries hard and adheres permanently. It look as good
or better than the original plastic plating (you be the judge... photos of completed unit at end.)